How to Add the Criss-Cross to Peanut Butter Cookies

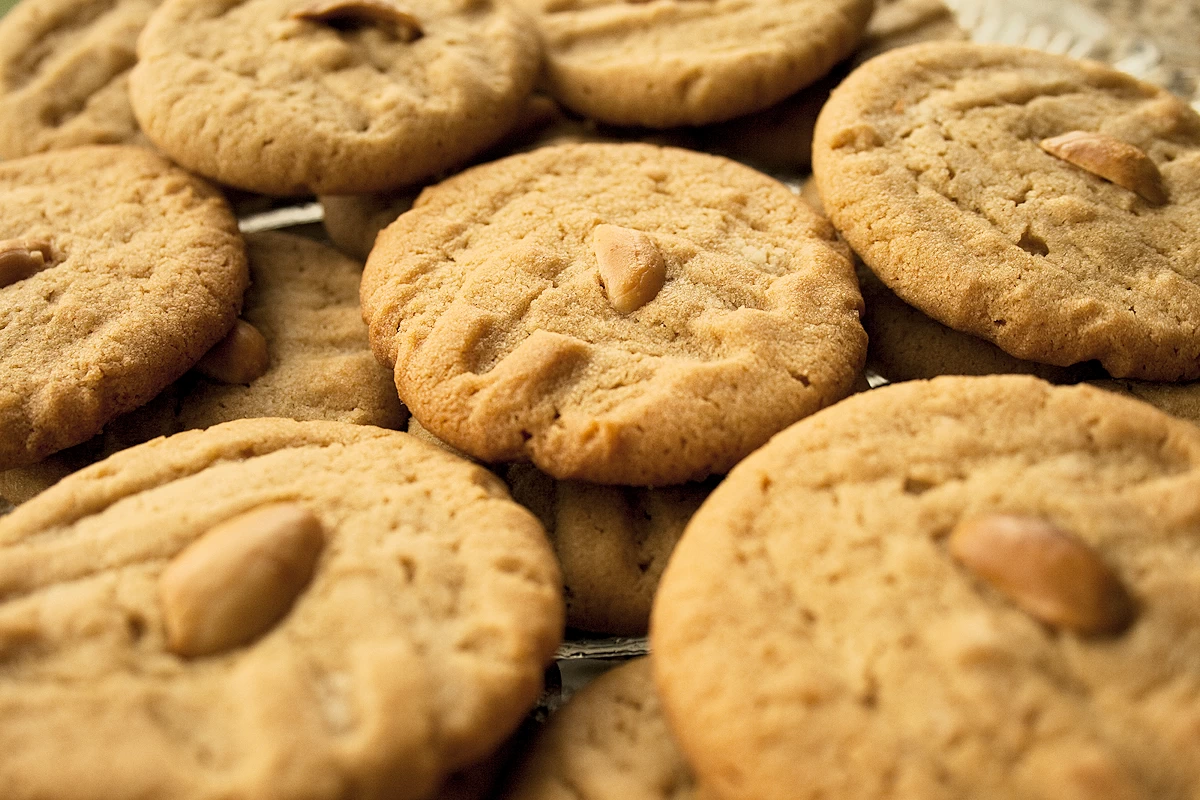
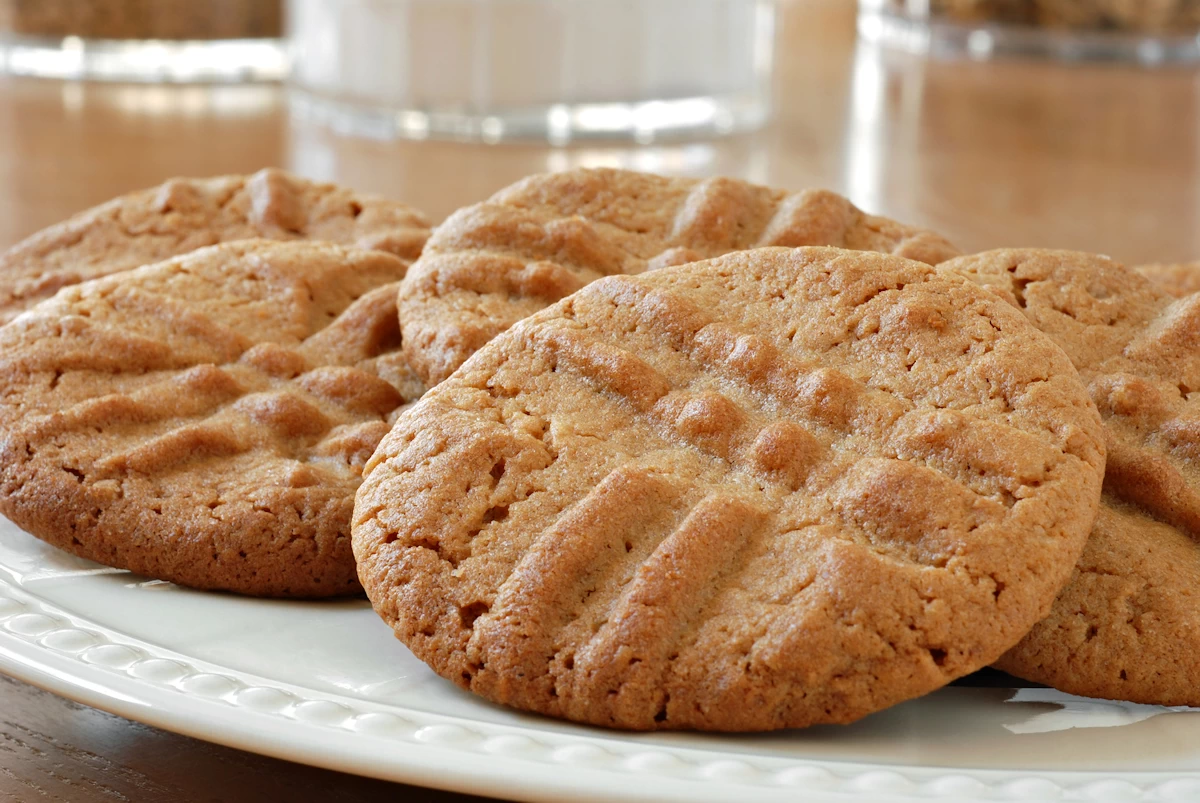
There is something uniquely nostalgic about the criss-cross pattern on a peanut butter cookie. Beyond just looking iconic, those ridges serve a functional purpose: because peanut butter cookie dough is dense, the fork press flattens the dough so it bakes evenly through the center.
If you’ve ever ended up with a sticky mess or uneven shapes, here is the definitive guide to mastering the technique.
1. Prep Your Tools
Before you start pressing, you need to set yourself up for success.
The Fork: Use a standard dinner fork with long, sturdy tines.
The Coating: To prevent the fork from sticking to the fatty dough, prepare a small bowl of granulated sugar (or flour, if you prefer less sweetness).
The Temperature: Ensure your dough is chilled. (Most recipes call for 2 hours of refridgeration before baking.) If it’s too warm, the tines will pull the dough up rather than slicing through it.
2. The Step-by-Step Technique
Once your dough is rolled into roughly 1-inch balls and placed on the baking sheet, follow these steps:

Step A: The First Press
Dip the tines of your fork into the sugar or flour. Press the fork down firmly into the center of the dough ball until it is about 1/2-inch thick. You want to see the distinct lines of the tines, but don’t press so hard that you hit the baking sheet.
Step B: The Second Press
Dip the fork in sugar or flour again (this is the secret to a clean release!) Rotate the fork 90 degrees and press down a second time. This creates that classic hashtag or “waffle” appearance.
Pro Tip:
For a modern twist, try using a meat tenderizer (the flat, textured side) or a potato masher for a different geometric pattern in your peanut butter cookies.
Pro-Tips for Perfect Patterns
If you want your cookies to look like they belongs in a professional bakery, keep these pointers in mind:
| Problem | Fix |
| Fork sticking to dough | Dip in sugar or flour between every single press. |
| Rough, jagged edges | Roll your dough balls more smoothly before pressing. |
| Uneven thickness | Apply pressure to the “shoulders” of the fork, not just the handle. |
| Faded pattern after baking | Ensure your recipe has enough flour; too much butter/oil causes the pattern to “melt” away. |